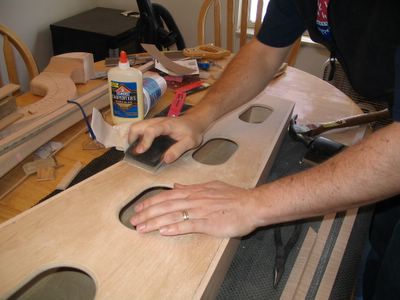
Hello Mother dear,
and welcome to my journal. We've finally joined the 90's and gotten something better than dial-up internet. It's high time I started posting for you. This is intended to be a journal of crafty stuff of interest to you. Of course, for now, it's also going to be a description of the building of Harp 3.0. This first post covers the last few days.
Aaron's started working on the harp. It's a Regency kit in curly maple, made by
Musicmaker's in Stillwater MN. I played one of these last Christmas while in Minnesota and thought that it had the finest sound and feel of any I'd come in contact with. We got curly maple in part because it is a somewhat denser wood and so should be more durable (and possibly a better sound). I also liked the look of it...who could resist a wood that's described as "curly"? I have had to assure Aaron that we will
not be referring to the harp as Curly, nor shall we rename the others Larry and Moe.
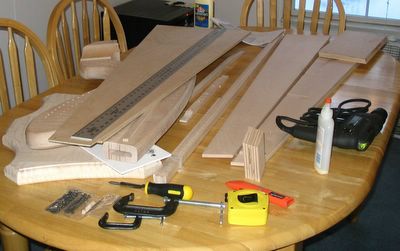
So then, here are the pieces parts arrayed on the workbench (aka my kitchen table). Note the drill, which is definitely not going to be used to drill holes in the table (since I'm not running it this time!)

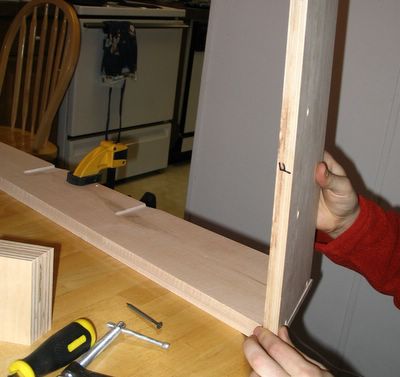
Here's Aaron taking one of the first steps...fitting the bottom onto one side of the soundbox. You can see on the side piece some grooves that are there to help hold braces in place. This harp design has a lot more in the way of reinforcements as compared to the Studio harp.

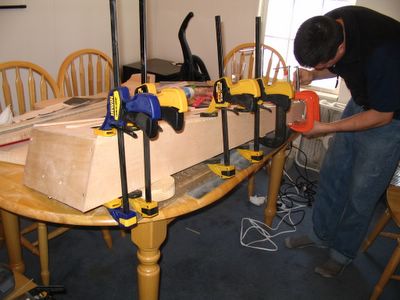
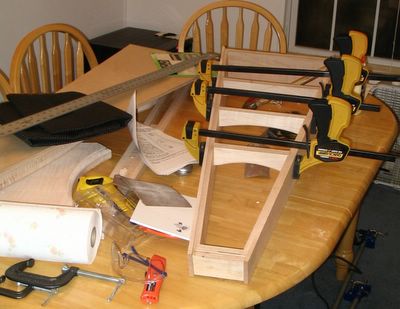
Here are the braces being held in place by Aaron's beloved clamps. Amazingly, he didn't claim to need additional clamps for this project, although I don't believe he's ever passed on the opportunity to get more clamps before.

Not much gets done without the dog's approval. Here Dexter is guarding the table, lest some tasty piece of stick should fall off and fail to get chewed upon. Aaron's guarding the table to prevent such a happening.


Oh. I misspoke. Apparently Aaron did use this fine opportunity to procure more clamps. These are what
Strongbad would like to call "more different" clamps. This is apparently why it's important to have many kinds of clamps, and not just to annoy your wife in the hardware store. Aaron has glued these little blocks in place under the braces for what he called "some additional extra-ness." Very technical woordworkers we are, let me assure you.


Once the braces were nicely in place, the back was glued and nailed on. The nailheads will be covered by trim pieces.

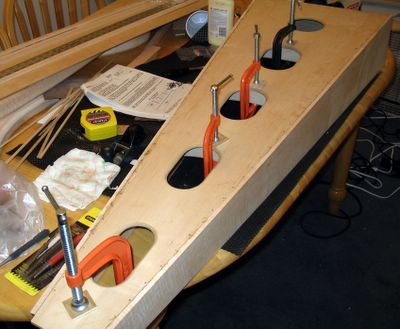
Here Aaron's showing me the reinforcing strips for on the front and back of the soundboard. The strings will go through these, and since the strings will combine to exert a ridiculous amount of tension on the soundboard, this is a good thing. The back strip, although it may not be clear here, is actually tapered to provide more strength for the bass strings and more ability to vibrate in the upper register. So tricksy!

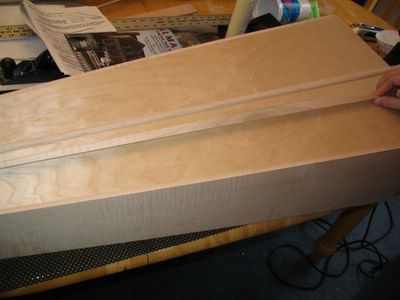
Aaron rounded over the edges of the reinforcing strip nicely, and the strip has a pretty curly grain to it. I think it'll end up looking really nice. Preparing this strip has actually been the single most time-consuming step so far.


And here is my lovely husband, completely covered in sawdust, using his very favorite utensil to spread some glue. The nails sticking out are to tack the reinforcing strip into place until the glue sets. The thing had a beastly tendency to float about instead of sitting nicely. I daresay Aaron could write some detailed equations describing the lubrication approximation for this fascinating transport problem. What? You say that I could write those? No, certainly not, I was asleep in that class. I digress.


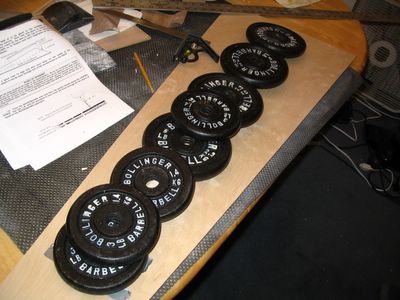
Ah yes - and the final picture for the evening...proof that I do indeed lift the weights that I bought years ago. I lift them onto a partly assembled harp. Just the thing for holding glue in place.

Well then, until the next harp post, adieu.
Love,
Beth


